Online zine-making seems to have gotten easier after only four issues, maybe because I’ve streamlined the process (or at least stopped reinventing the wheel each time).

The idea and draft

It starts with the idea. Some weeks it comes fast, other times I spend a couple of hours thinking it through. The easiest ideas show up when I’m doing something completely unrelated, like driving to the store. I’ll notice something that bothers me—like a new billboard going up on land that could’ve been something better for the community—and realize it might be a worry other people share.

That’s been the pattern so far: I write about things in my life that nag at me, assuming (or hoping) that someone else out there feels the same.

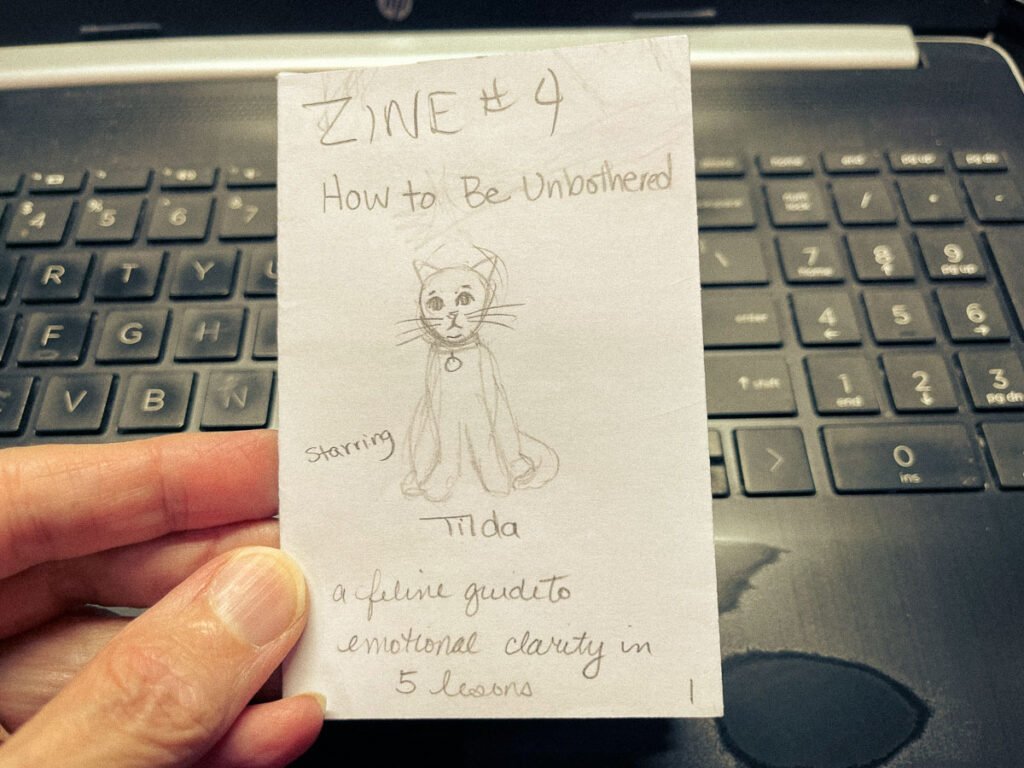
Once I hit on a topic, I draft what I want to say and write it on an 8.5x11" paper folded into a mini mockup. That gives me a physical layout I can hold and scribble in. It helps clarify where the text will go and gives me a list of illustrations to work from. I try to use the illustrations to communicate information that I’m not putting into the text, which is a fun challenge, and what I think illustration is all about.

Hand holding a folded paper mockup of a zine titled “Zine #4: How to Be Unbothered,” featuring a pencil sketch of a cat named Tilda.
This was the mockup for How to Be Unbothered

Creative management

From the beginning, I gave myself a few constraints to keep things manageable. For example, the online zine must be grayscale, and I don’t allow myself to spend much time cleaning up drawings after I make them. That means the illustrations have to be simple which really helped speed things up.

The next step is finding reference images. I usually need two or three for each little drawing. Sometimes I take the photos myself (as I did with the billboard zine), and sometimes I find images online that are close enough. There’s always a fair amount of interpretation involved, but that’s part of the fun.

I ink everything at my drawing board using a sketchbook I made years ago with Strathmore Mixed Media paper (vellum finish). I love how ink works on it. I tried Bristol for the first zine, but it was too smooth and caused smearing. Since I didn’t want to waste time cleaning up messes in Photoshop, I needed something that played nice with ink—and this does.

Hand holding a handmade sketchbook with a purple cover and a gold-lined raven design on the front.
One of the first sketchbooks I made for myself. I use it now for my zine illustrations.

The pens

I’ve tested several pens. I wanted a more expressive line, so I tried everything from Pentel Fude brush pens to Uni-ball pens to Tombow Fudenosuke. The problem is that none of them are waterproof, and when I go over the drawings with a Tombow Dual Brush marker to apply my grays, they smear.

For now, I’ve settled on Staedtler pigment liners. They’re waterproof and consistent, even if they aren’t quite as soft as I’d like. I’m still on the hunt for something with a bit more give that doesn’t smear easily or smudge with markers. I don’t enjoy using technical or fountain pens for this work, so the search continues.

The digital part

Once the drawings are done, I scan them into Photoshop. I clean up small smears and any lines that don’t work, but only what’s necessary. The goal isn’t perfection; it’s finished.

I use a Photoshop template I created for the zines, refine the draft text as I go, and choose a font that matches the tone of the piece. That’s one of the more fun parts of the digital side. I then export the final pages in .jpg format as single pages and spreads. The spreads go into the Substack post. The single-page images go into InDesign, where I’ve set up a template to make the printable version.

That gets exported to PDF and uploaded here to my website. Eventually they’ll be in a free section on the Studio Second Street website.

The biggest changes that I’ve had since the first zine have been the paper and pens, and switching from Acrobat to InDesign for the printable layout. It’s gotten faster now that I have templates in place and know what to expect.

Final thoughts

What’s still hard? I’d say figuring out how much polish is enough. I’m not trying to make perfect things—I’ve accepted my own internal deadline.

I give myself about 8 hours to complete a zine. The first one took twice that. Zine #4 hit the mark. My favorite part is making the drawings, but honestly, I’m enjoying the entire process.

I’m glad I started this. I’ve found a creative outlet that works for me, and I’m learning how to get things done quickly, even if they aren’t beautiful. My next goal is to explore using limited color. But for now, I’m just going to roll with it.